Ansible playbooks are just YAML files that you can edit anywhere. Using development tools like Visual Studio Code can improve your workflow, allowing you to write more effective automation code. This article will show you how to get started by setting up an Ansible development environment in Visual Studio Code.
To follow along, make sure you have these installed on your system:
- Git
- Visual Studio Code
- Ansible
- Ansible lint
- Windows Subsystem for Linux (if on Windows, optional)
Once you have those installed, it’s time to get started!
Setting up VS Code
First, let’s install some extensions in VS Code.
Extensions
Install these core extensions for Ansible development:
- Ansible (by Red Hat)
- YAML (by Red Hat)
- GitLens (Optional but recommended)
Optional Extensions (Depending on OS and situation)
Depending on your setup, you may also want:
- WSL (VS Code Extenstion) - Useful if you’re developing on Windows and have installed Windows Subsystem for Linux
- Remote SSH - Allows for editing playbooks on remote machines via ssh
To install extensions, open VS Code and use Ctrl+Shift+X (or Cmd+Shift+X on Mac) to access the Extensions marketplace.
Determining Where and How to Install Ansible
The VS Code Ansible extension requires an installed instance of Ansible for documentation and linting features. Let’s look at some options based on your operating system:
Direct Installation (Linux/macOS)
If you’re using Linux or macOS, install Ansible directly on your local machine. This approach doesn’t require the optional remote connection extensions mentioned earlier.
Remote Installation (Windows or Remote Development)
If you’re using Windows or have Ansible installed on a remote server, you’ll need to connect VS Code to where Ansible is installed. This is where WSL and Remote - SSH extensions become useful.
Installing Ansible and Tools
WSL Setup Example (Windows Users)
For this article, we’ll use WSL on Windows:
- Install a current Linux distribution in WSL, such as Ubuntu or Fedora
- Using the distribution’s package manager, install Ansible, ansible-lint, and your collections within the WSL environment
Connecting VS Code to our environment
If you have installed the WSL extension in VS Code, you can click in the lower left this symbol:

VSCode Remote connect
That will bring up a drop-down with a list of options. The one we want is either:
Connect to WSL
- if you have one instance or
Connect to WSL using Distro… (and select your distro)
- if you have multiple WSLs on your system and want to connect to a specific one.
When connected, go to the extensions tab, and click Install in WSL on the Ansible, YAML, and Gitlens extensions. Below is an example of what I see in the Ansible extension with my particular version of WSL:
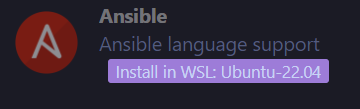
VSCode WSL extension install
Once installed on WSL, the Ansible extension should detect our previously installed tools. If not auto-detected or if you installed Ansible to a non-typical path (like by pip), the Ansible extension allows entry of paths to the executables for Ansible and Ansible Lint on the remote systems.
Once VS Code detects the Ansible installation, it will also see any collections installed on the system and be able to do autocomplete as Ansible playbook and role development happens. You should see the file type at the bottom as Ansible instead of just plain YAML.

Ansible filetype in Code
You should now see autocompletion working.
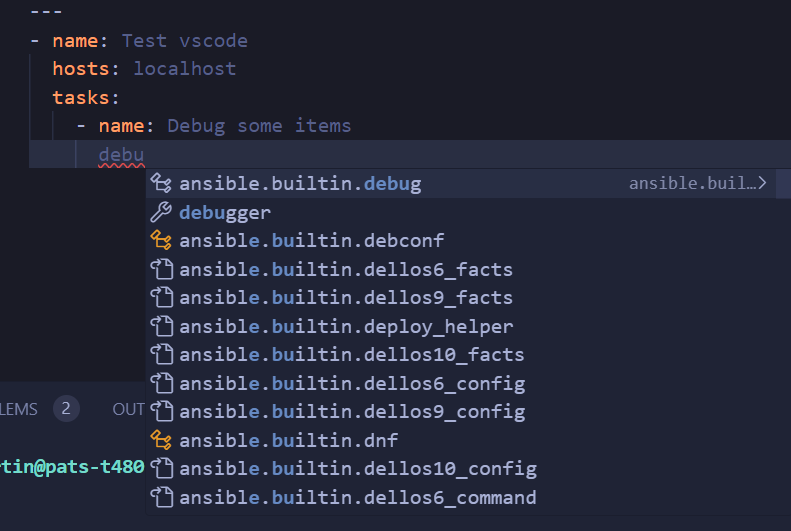
Ansible Intellisense
Setting up an efficient Ansible development environment using Visual Studio Code can greatly enhance your ease of working with Ansible. You can now leverage the power of Ansible within the familiar interface of VS Code. Happy coding!
Notes: Additional tools can be installed and used by the VS Code ansible extension, such as ansible-builder and ansible-navigator. These will require the machine you are connecting to be able to run containers. In future articles, I will feature some of these tools and how to use them in our development environment.